Chapter 4 RWIS and Car Simulator
Physical Build Part 1
- If you bought the Pi Zero W with the 40-pin header preinstalled you can move to the next step, otherwise you will need to solder the header on
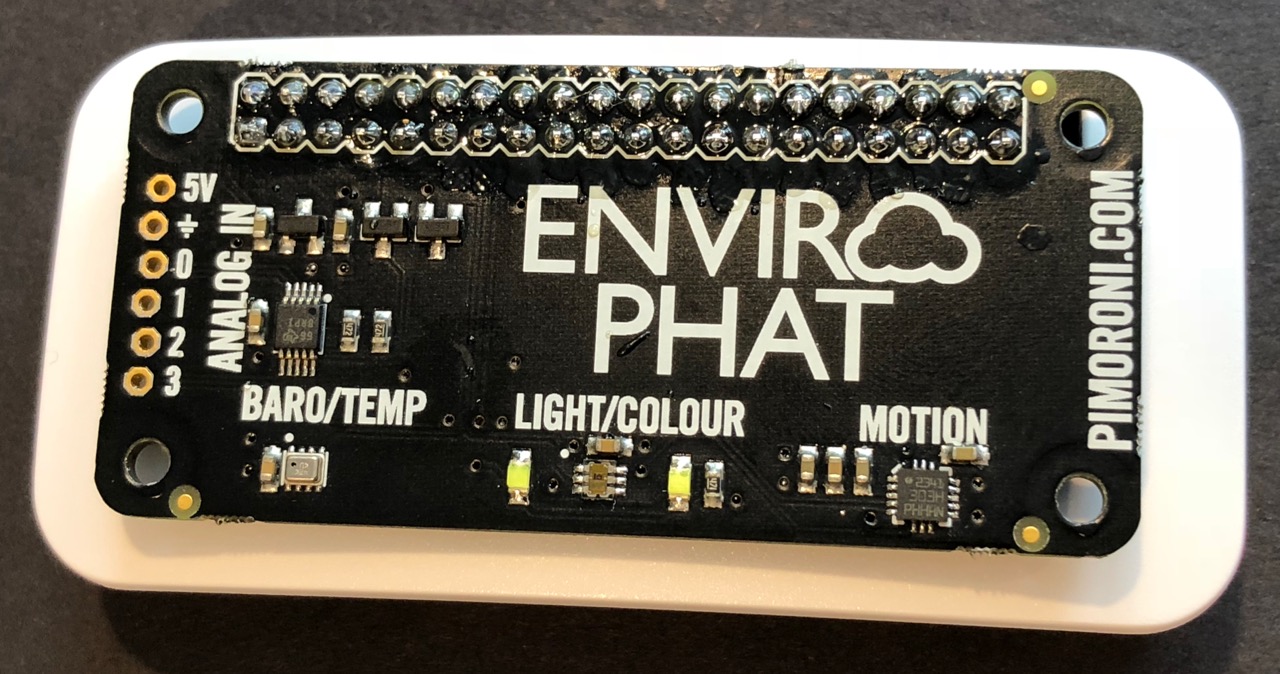
- Solder the 40-pin socket onto the bottom of the Enviro pHAT
You won’t be using the
ANALOG INconnections on the Enviro pHAT so the included 10-pin breakaway header can be set aside for another project.
Software Setup
- Follow the instructions in the Chapter 3 Raspberry Pi Installation document to set up the Raspberry Pi with an initial environment and connect it to the IR829 Wi-Fi
- Log in as
piconvia SSH and install pip and paho-mqtt
sudo apt update
sudo apt install python3-pip
sudo pip3 install paho-mqtt
- Install the Enviro pHAT Python library
curl https://get.pimoroni.com/envirophat | bash
- Enter
yto continue - Enter
nwhen prompted for a full install
- Install the rwis-sim software
mkdir rwis-sim
cd rwis-sim
wget -O rwis-sim-latest.zip -L 'https://cisco.box.com/shared/static/immapg34lg73abr4m325jcr15l7za598.zip'
unzip rwis-sim-latest.zip
rm rwis-sim-latest.zip
rwis-sim.ini file:
- The MQTT broker IP address (e.g. the IR829 EFM broker IP address)
- The MQTT client ID (e.g.
roadway1-rwis1)
- Set up the rwis-sim service and enable it on boot
sudo cp rwis-sim.service /lib/systemd/system/
sudo systemctl enable rwis-sim
- Install the car-sim software
cd
mkdir car-sim
cd car-sim
wget -O car-sim-latest.zip -L 'https://cisco.box.com/shared/static/5z4vf02i7ft411088ml9k0ooj75rmene.zip'
unzip car-sim-latest.zip
rm car-sim-latest.zip
car-sim.ini file:
- The MQTT broker IP address (e.g. the IR829 EFM broker IP address)
- The MQTT client ID (e.g.
roadway1-rsu1)
- Set up the car-sim service and enable it on boot
sudo cp car-sim.service /lib/systemd/system/
sudo systemctl enable car-sim
- Power down the system to complete the physical build
sudo poweroff
Physical Build Part 2
- Add the (4) clear rubber feet to the bottom of the Pi Zero case
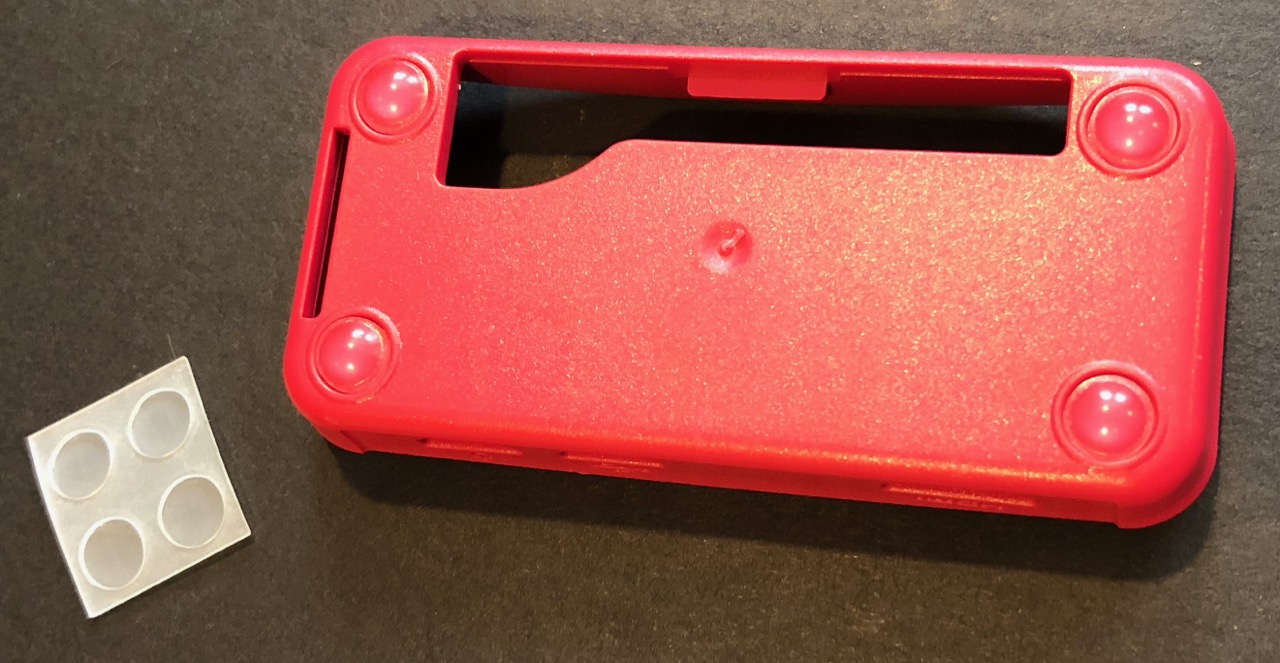
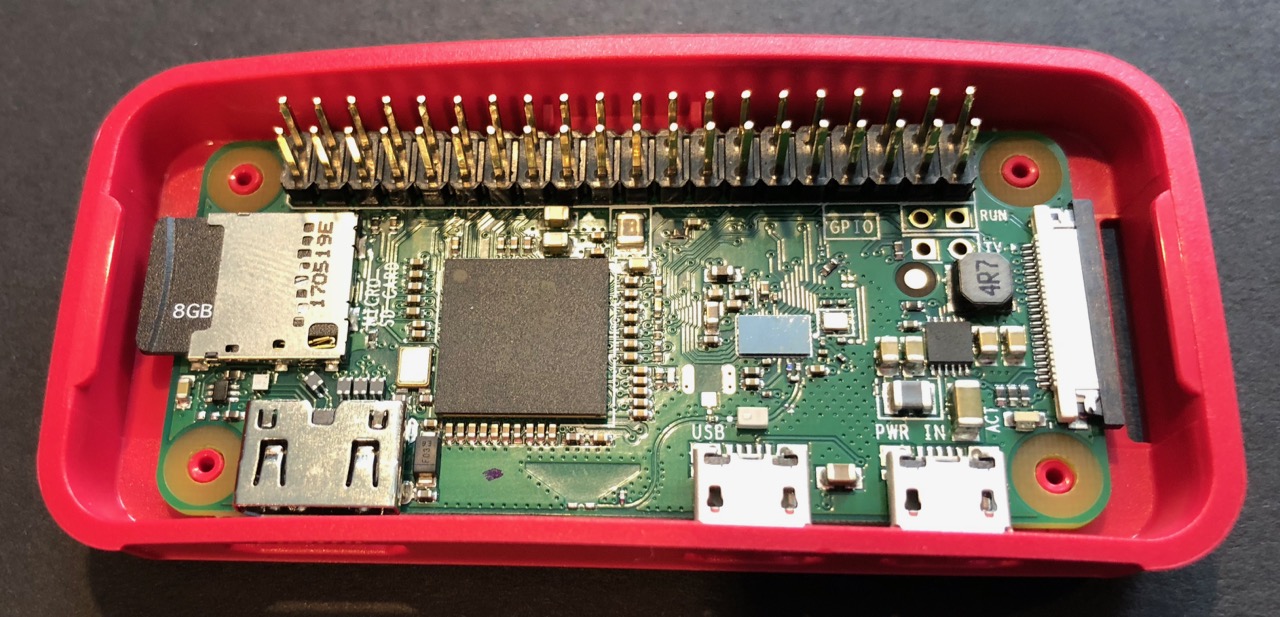
- Fit the Pi Zero W into the case
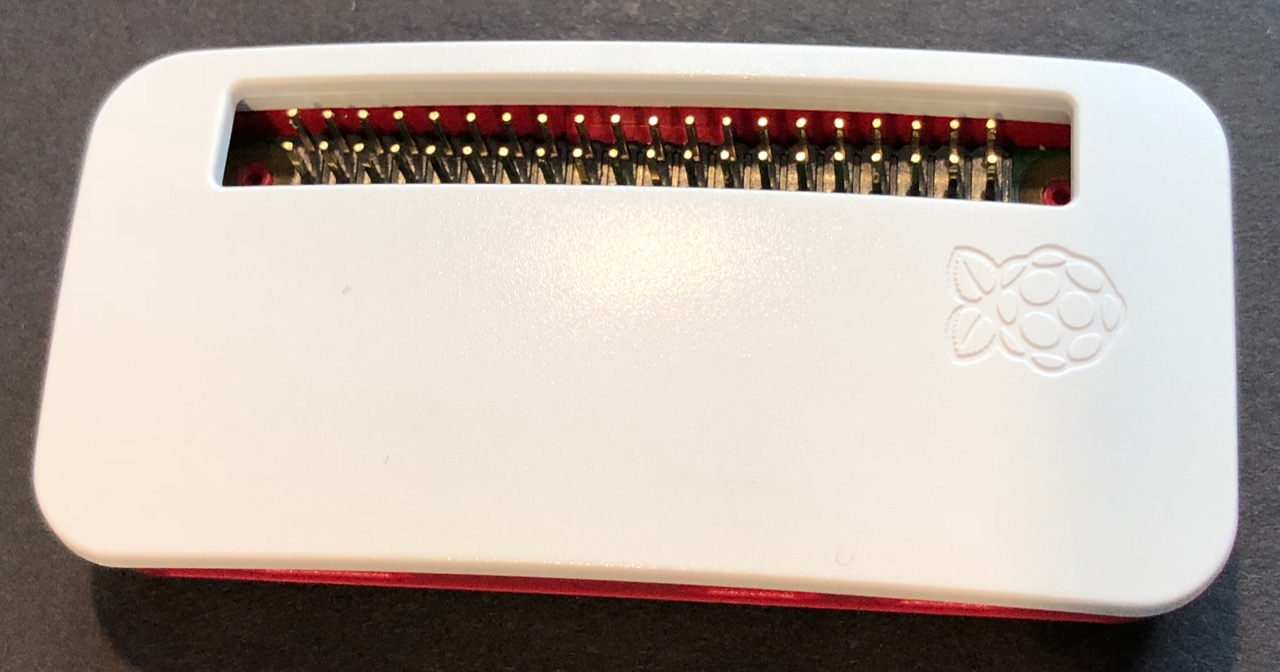
- Add the case lid with the opening that exposes the 40-pin header
- Connect the Enviro pHAT to the 40-pin header of the Pi Zero W
Power Options
Connect power to the system using one of the following options:
- You can power the Pi directly from the 2.4A 5V DC micro USB power adapter
- You can power the Pi using the USB battery pack and a short micro USB cable for a more mobile and interactive demo experience. The battery pack can be charged using the 2.4A 5V DC micro USB power adapter.
The USB battery pack will automatically switch over to battery power when upstream power is disconnected so it can be left connected and powering the setup until it needs to become mobile.
Did It Work?
When the RWIS is connected to the MQTT broker it will flash the top LEDs every 3 seconds when it takes its sensor readings. However, if you are following the DOT EFM Demo Kit documentation in the recommended progression you won’t have set up the MQTT broker yet on the IR829 EFM instance. Both the RWIS and car simulator will automatically connect to the MQTT broker once it is set up so you don’t need to do anything extra like rebooting the system to get them to connect.
If you are coming back to this section because you have the MQTT broker set up now, you can SSH into the Pi Zero W as picon and cat ~/rwis-sim/rwis-sim.log or cat ~/car-sim/car-sim.log to see if the logs indicate any issue. MQTT connectivity issues are usually due to IP misconfiguration or not having configured the MQTT broker on the IR829 EFM correctly. The log file should be informative about the reason for not being able to connect. Double-check you accurately followed every step of the IR829 EFM configuration process as well as the setup procedure above.
Good luck and don’t be afraid to ask for help if you get stuck!
On to Chapter 5 Serial DMS